Upside Down Sign
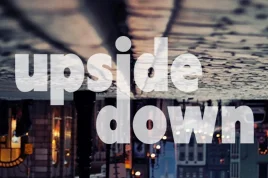
Upside Down graphic - reference for the sign.
One of the things the youth group at our church does that is similar to the main service is go through different message series that the pastor has built. Many times I help design the series graphics. These graphics are used on the main TV screens during the service. They are used on social media and they are used on the church's website.
Not only do series call for graphics, but sometimes they call for props to enhance the series. For the Upside Down series our youth group went through in Fall of 2015, the idea was that Jesus turned things upside down.
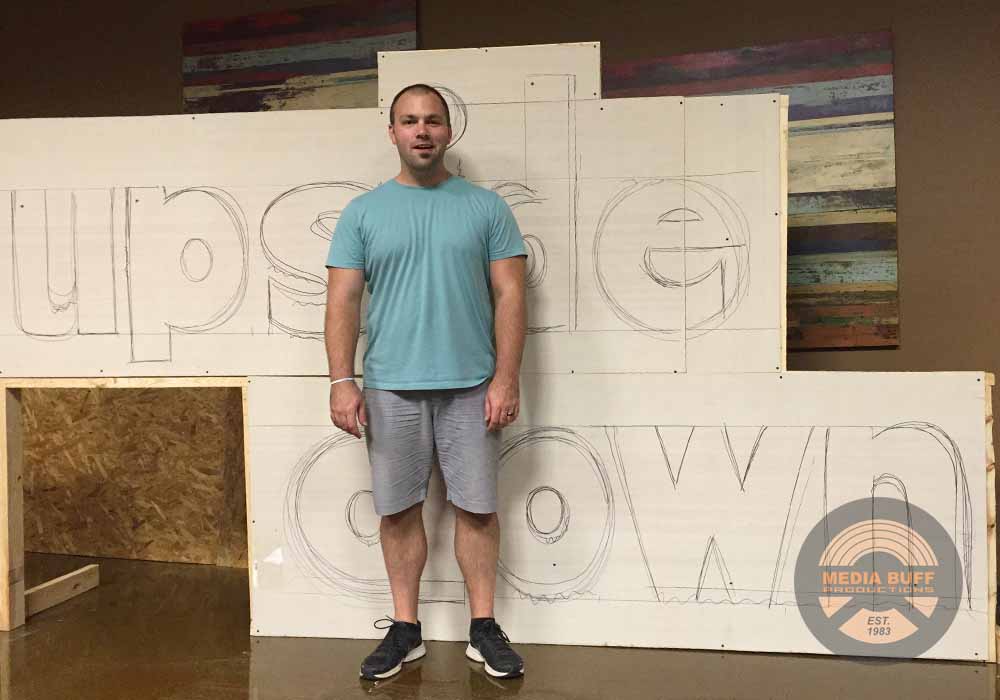
I was tasked with creating a sign with the words Upside Down on it. For this sign, I had a budget that I tried to stay within :) I initially mocked up the sign on the computer, as with many projects I do this so that the final product has less errors and goes smoothly. I determined the size of the sign based on someone standing in front of it.
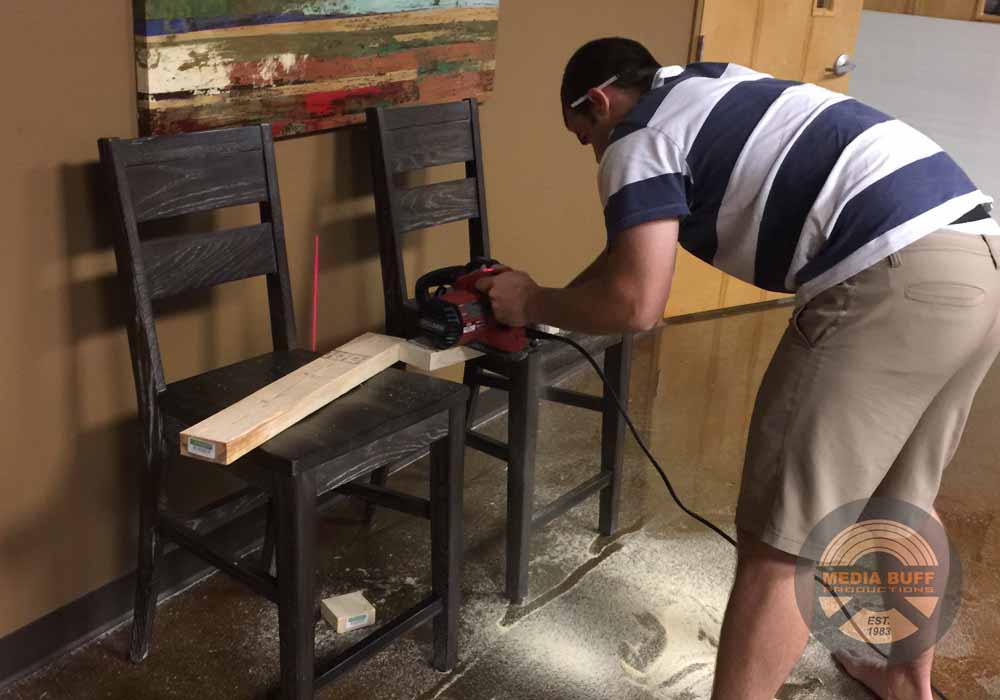
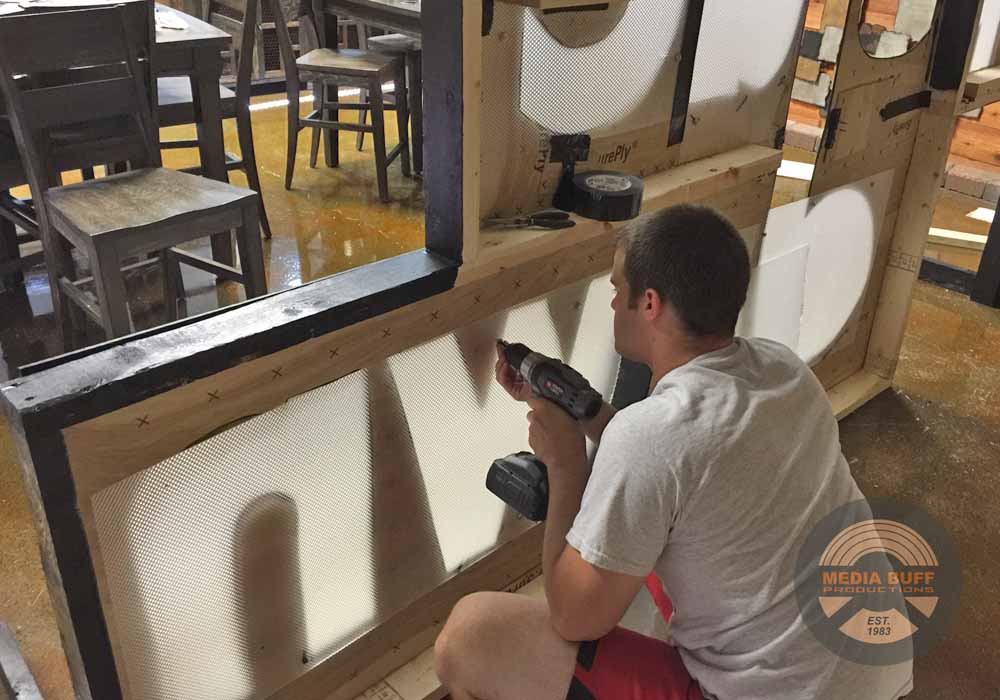
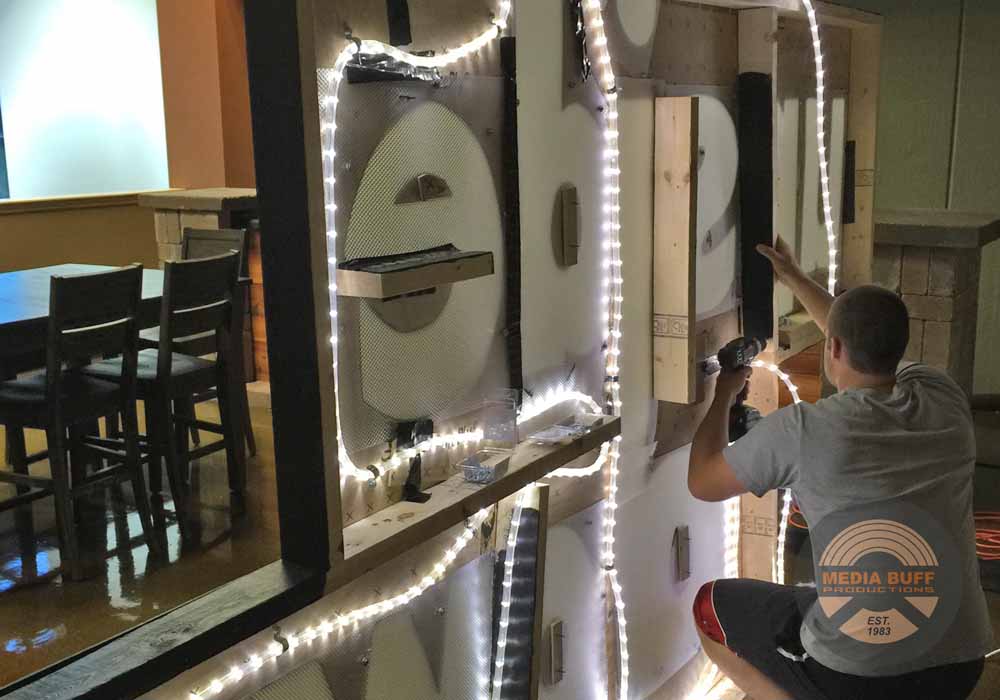
I purchased materials that included 2x4's, plywood, rope lights, ceiling light plexi, black paint and so on. My friend Clay graciously offered to lend a hand... so you'll see Clay doing most of the work in these photos, which he did do a lot of the labor with my guidance. He's a great guy #shoutout.
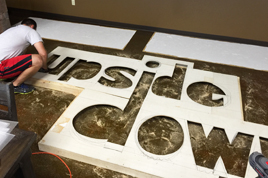
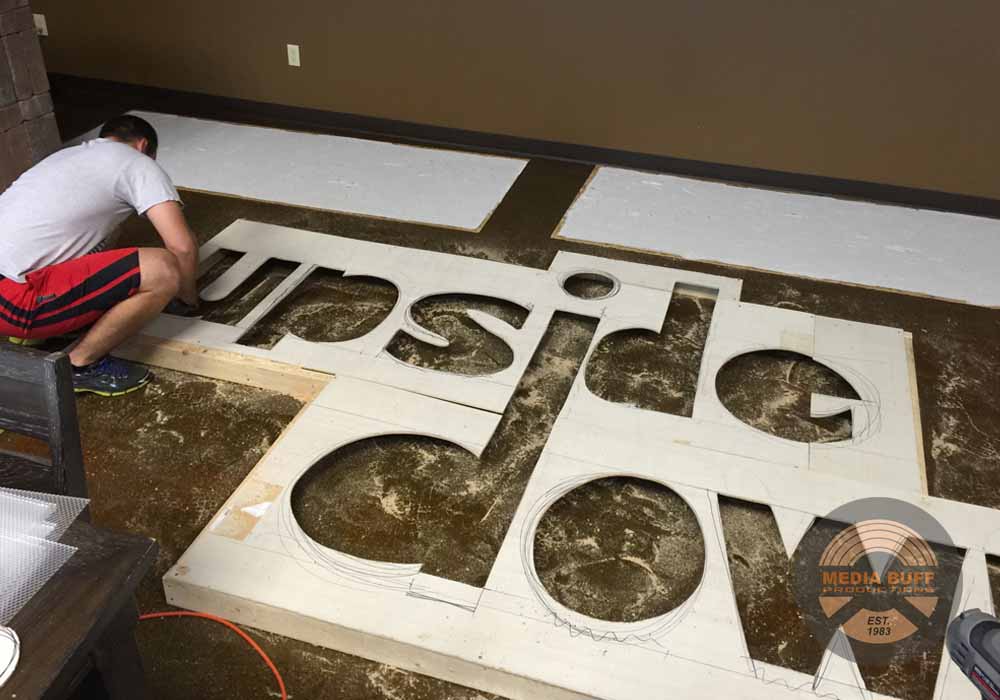
Clay helping with the sign.
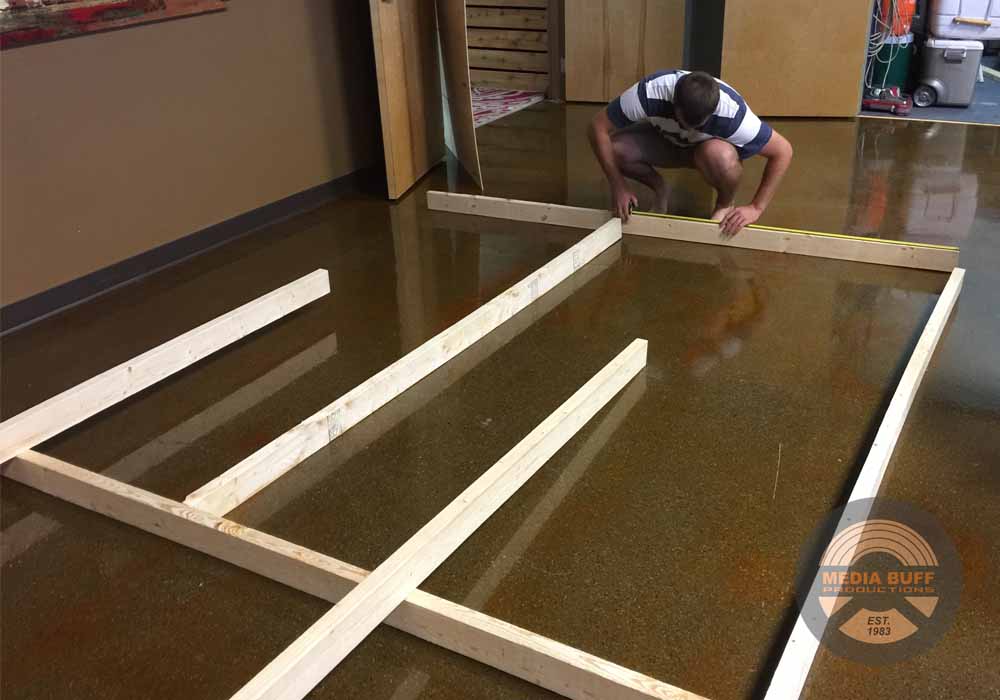
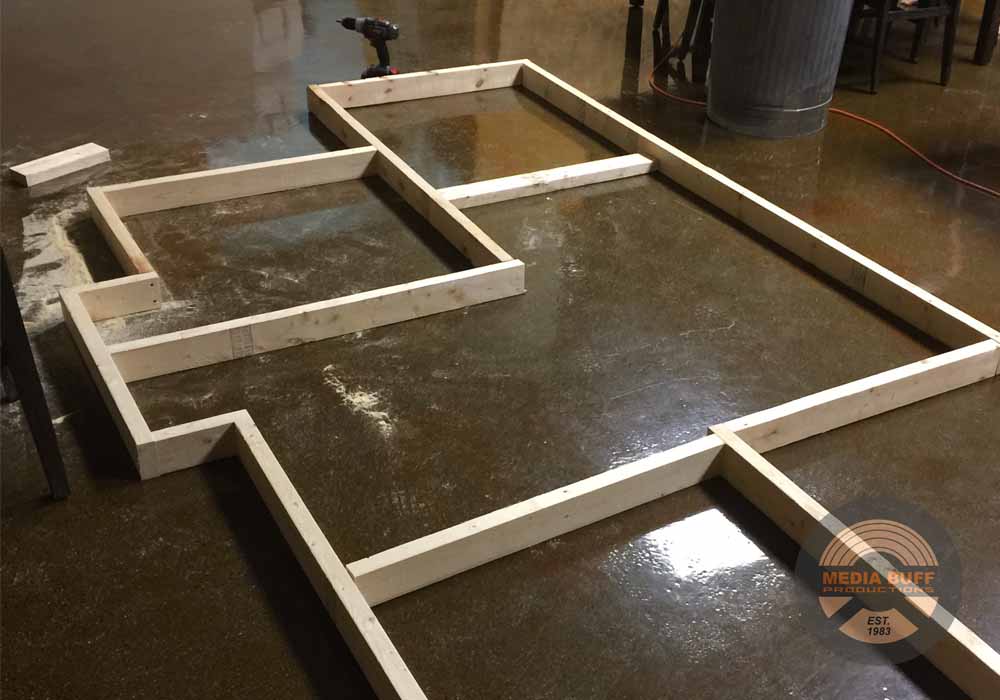
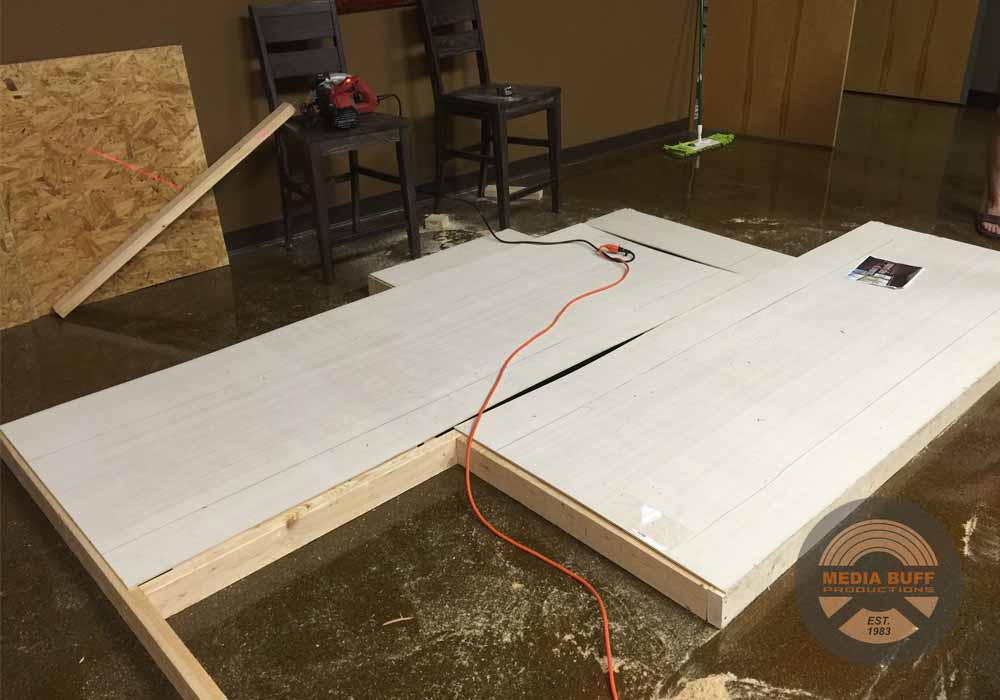
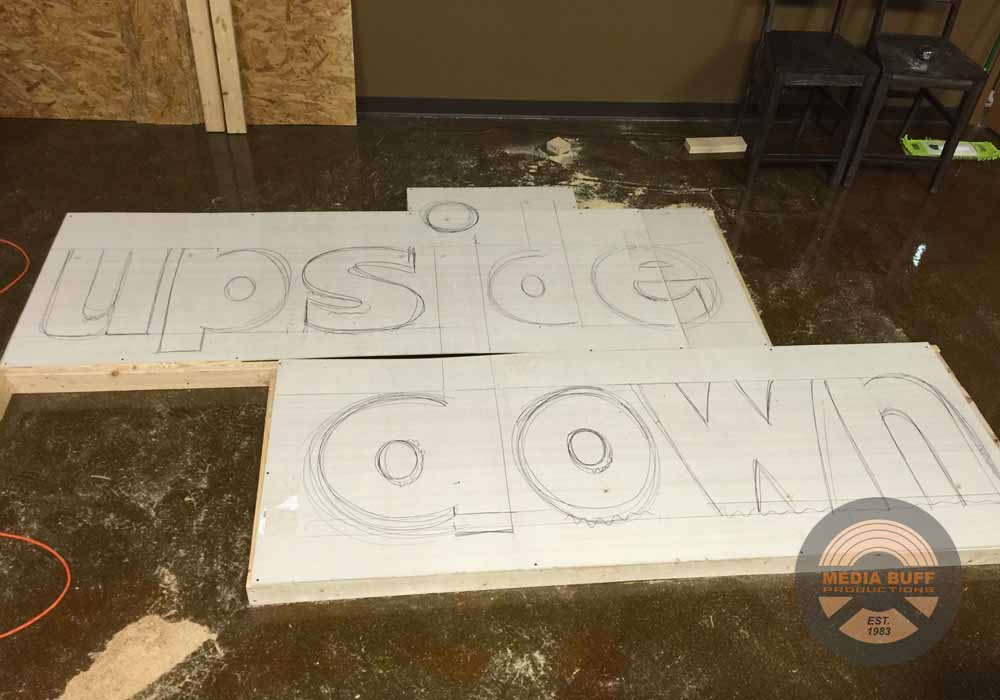
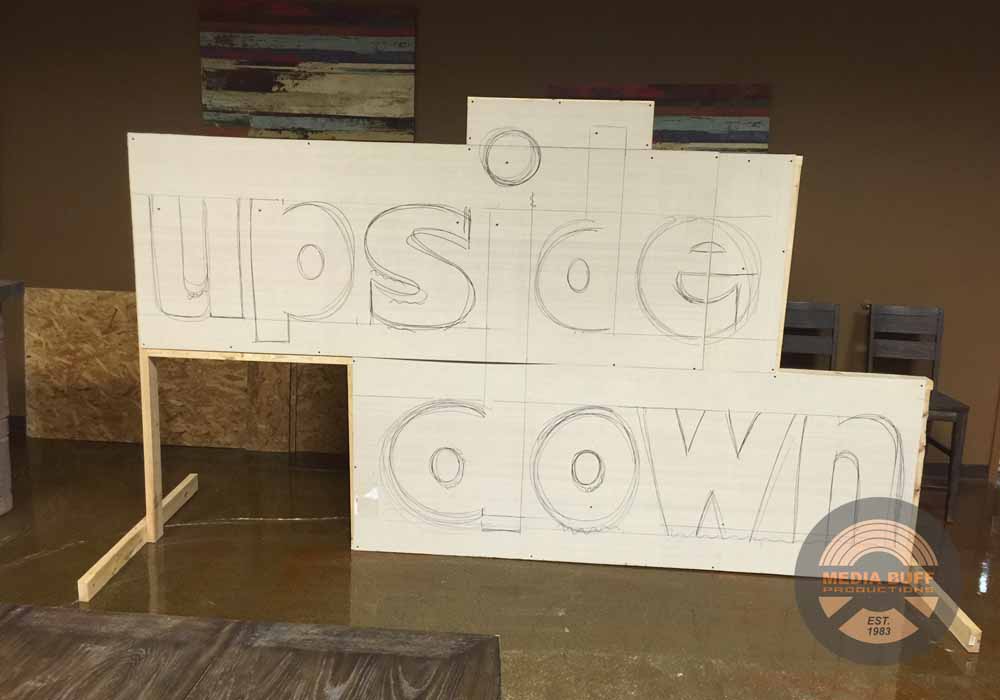
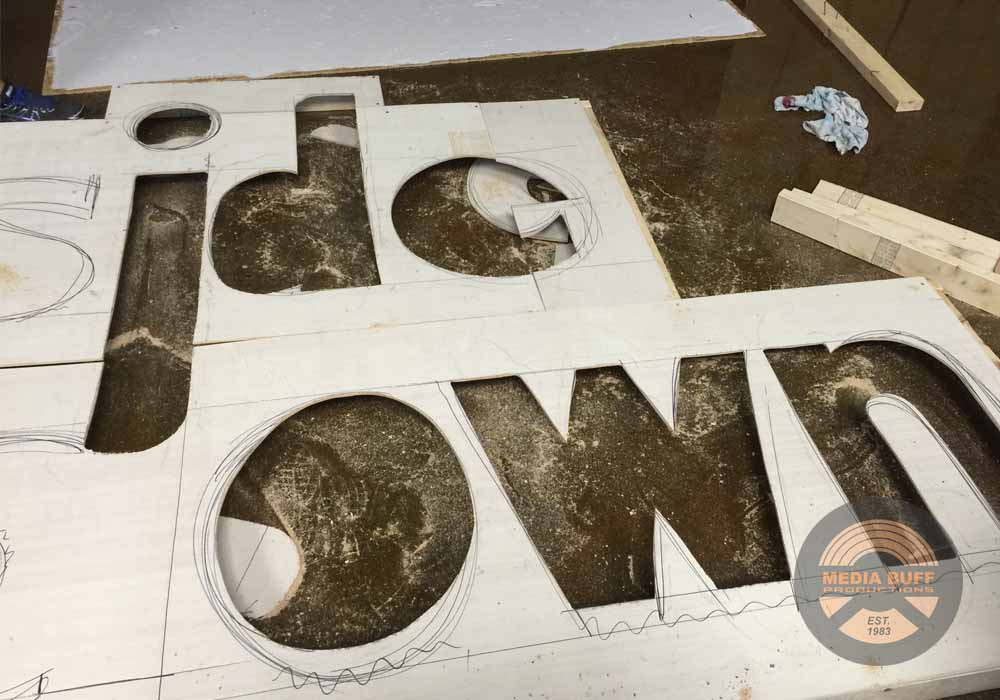
For the sign, we laid out the 2x4's to get the shape, and to properly support the structure without blocking the letters 'I' and 'D' that needed to connect, as you can see in the graphic. We also needed to allow the lights room to surround each letter and illuminate it properly.
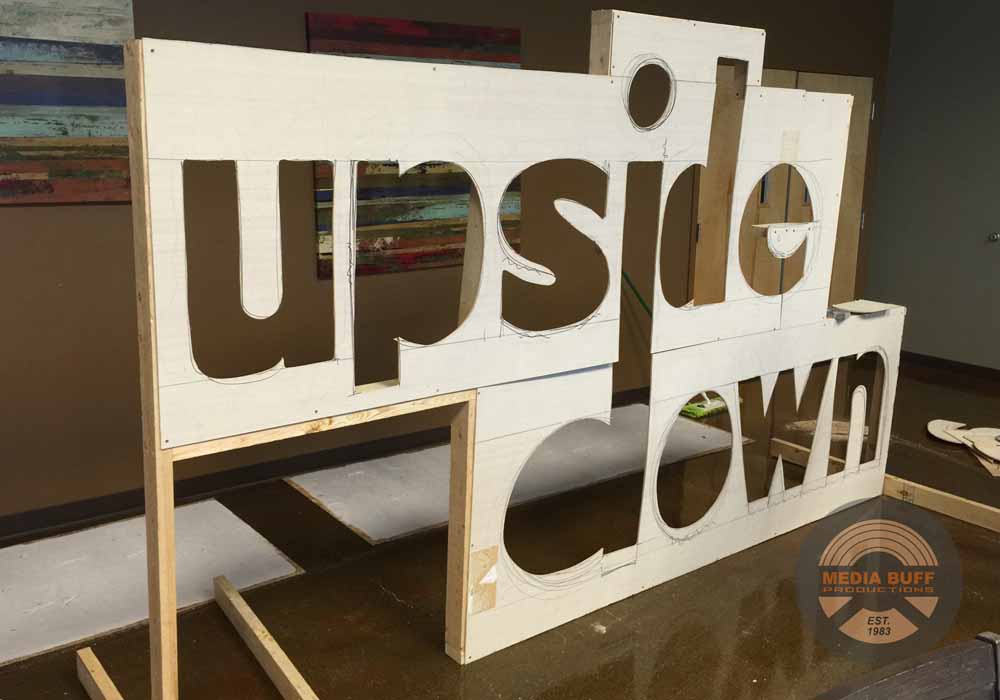
Once we had everything laid out right, we connected the pieces and laid the paneling on top so that I could free hand the letters that would be cut out. I freehanded because the final structural support was slightly different than the design, so we needed to adjust the letters appropriately. This sign was also not a project that needed to be perfect. Sometimes those projects are my favorite!
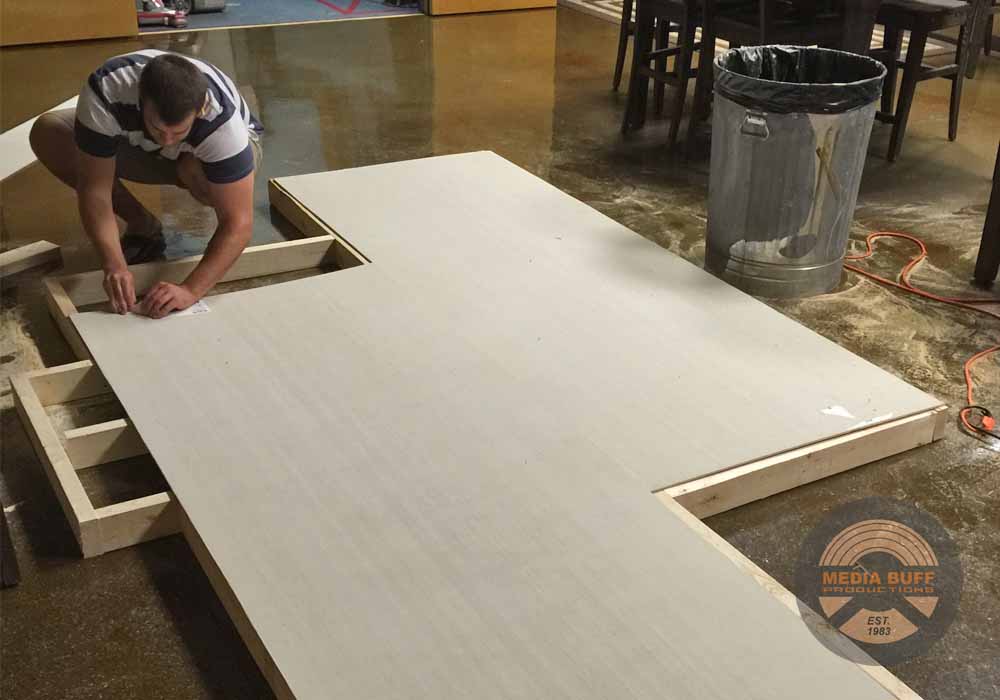
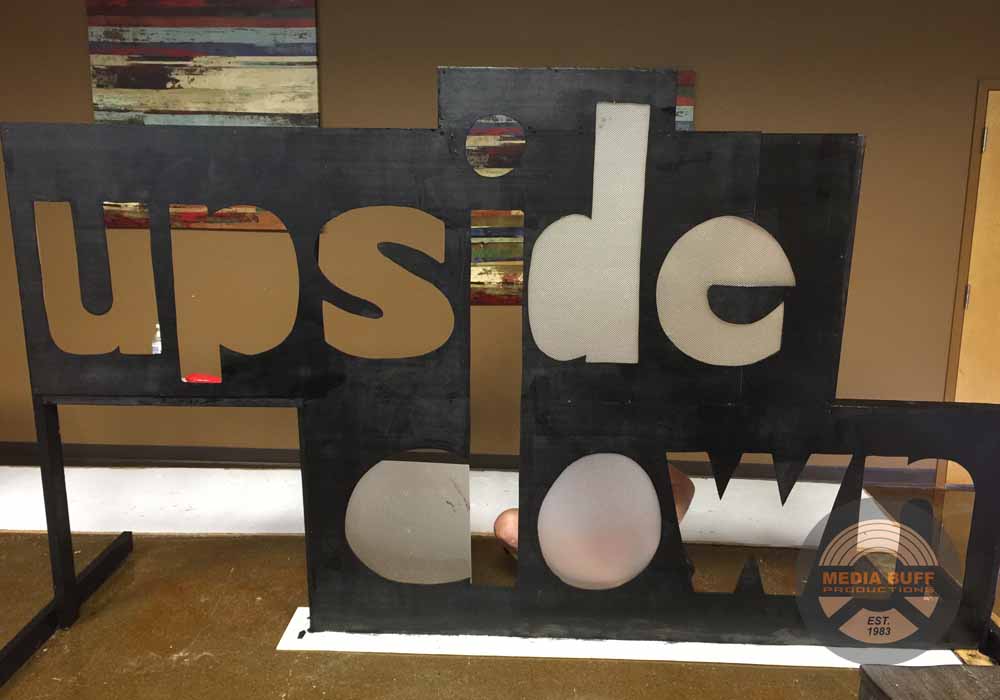
Once the letters were drawn out, I cut them out. We attached the paneling to the 2x4's and added feet to the sides of the structure then stood it up. We painted everything black and laid out the rope lights on the back, attaching them to the plywood. Once the rope lights were attached, we put a back on the structure, to keep the light from escaping.
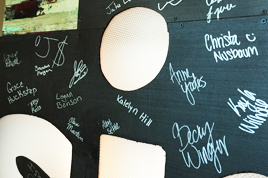
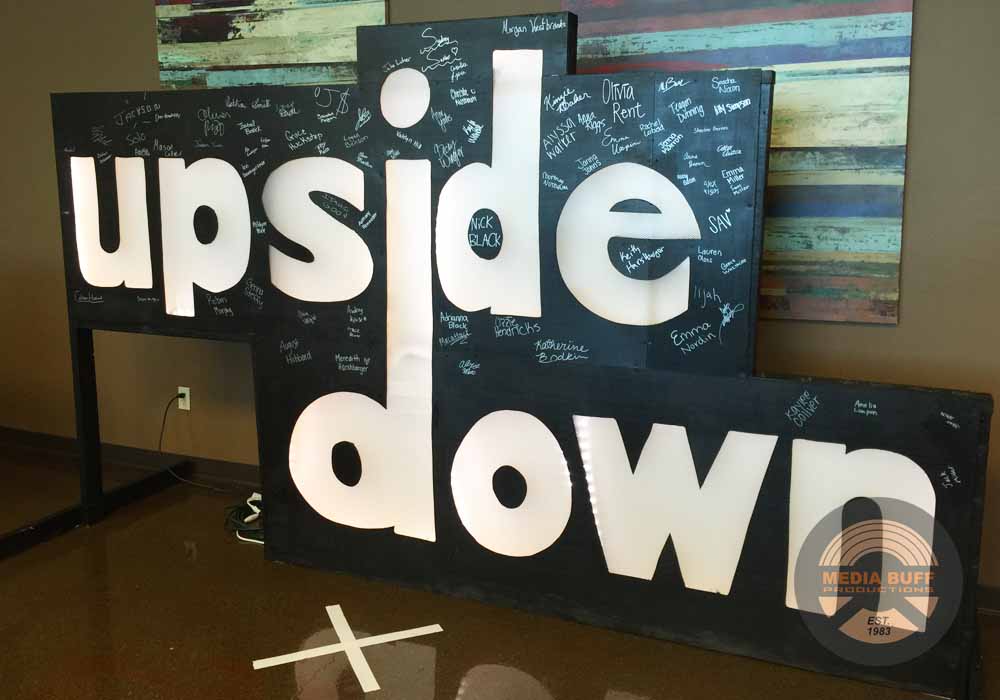
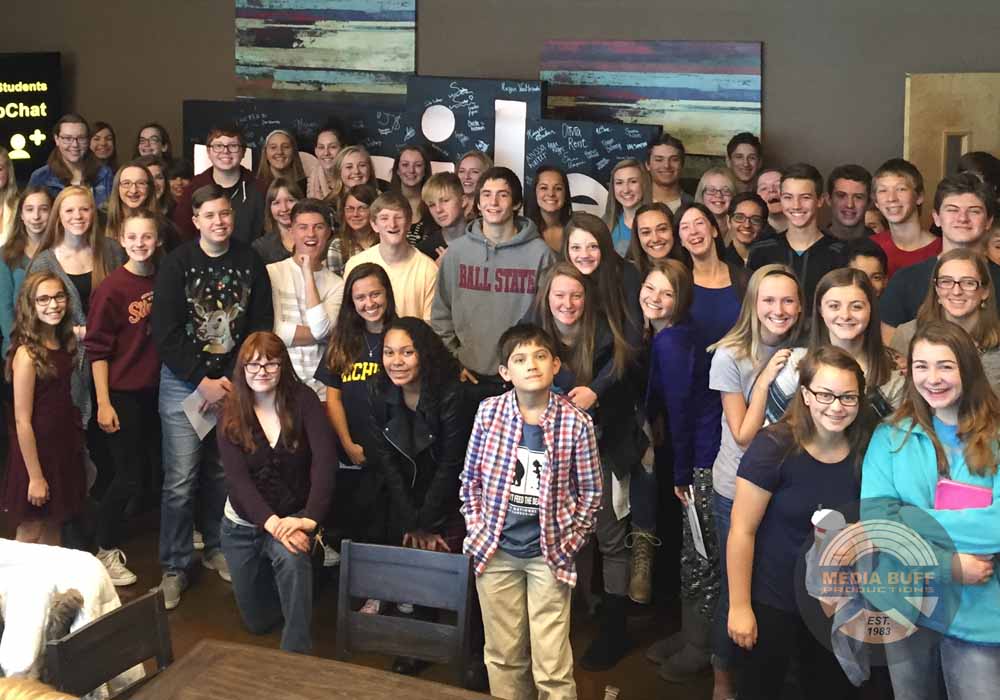
The sign with student signatures.
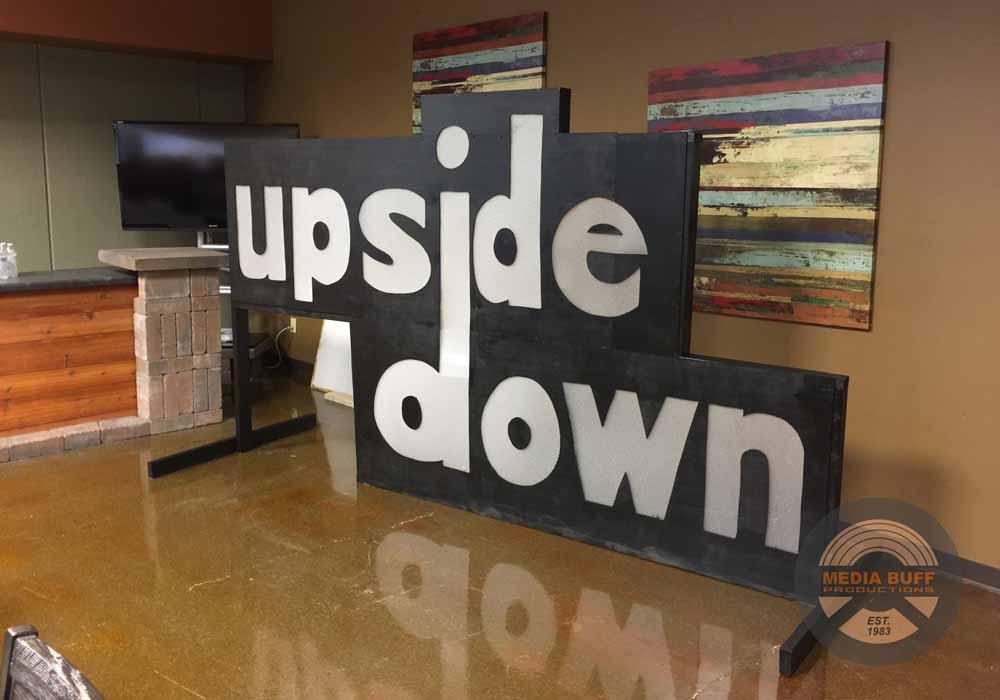
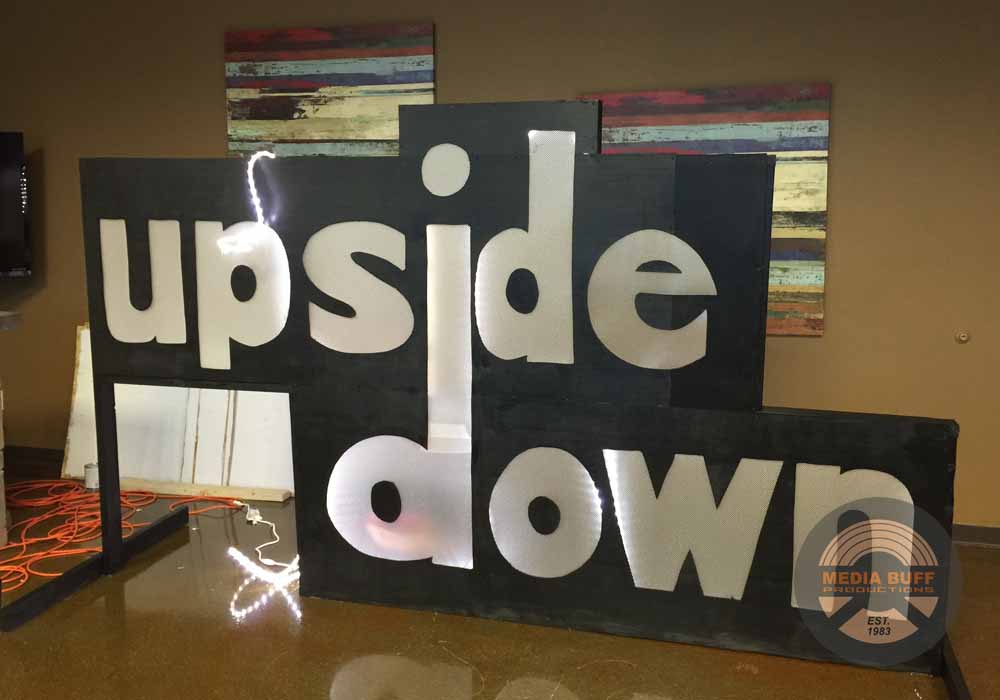
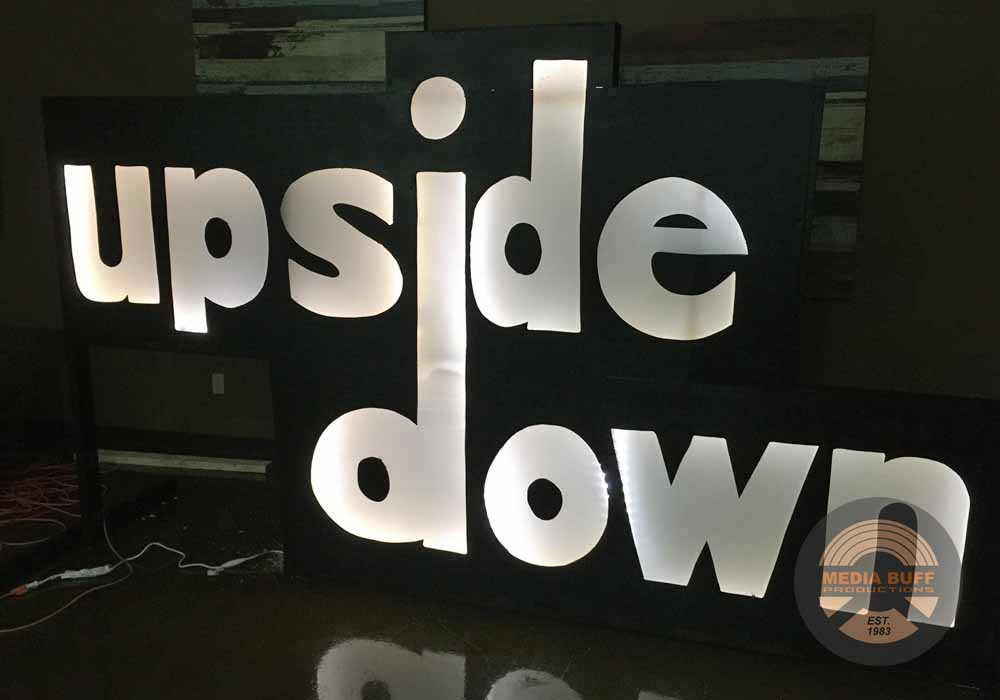
After all that, the sign was done! I added a power dimmer with different settings such as a flashing option. This helped emphasize that the sign was lit up when the sun was shining.
Once it was all done and Sunday morning rolled around, the message was given and students knew what the sign was all about. The students then took photos in front of the sign and everything came together! After the series concluded its eight week journey (you can watch below), we had all the students write their signatures on the sign and we got a photo of all of them in front of it.

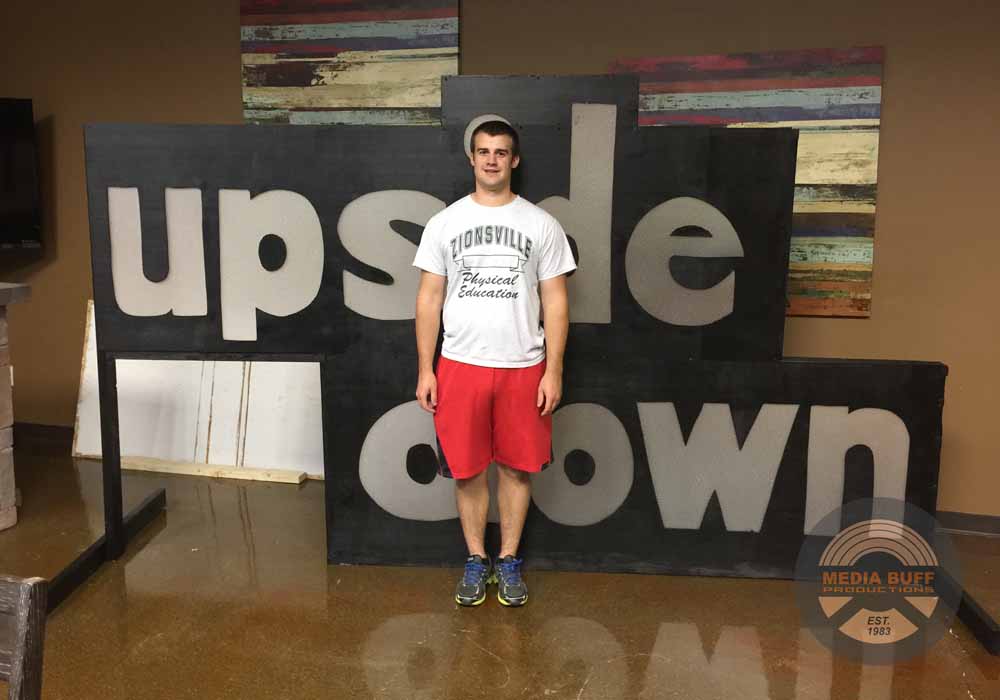
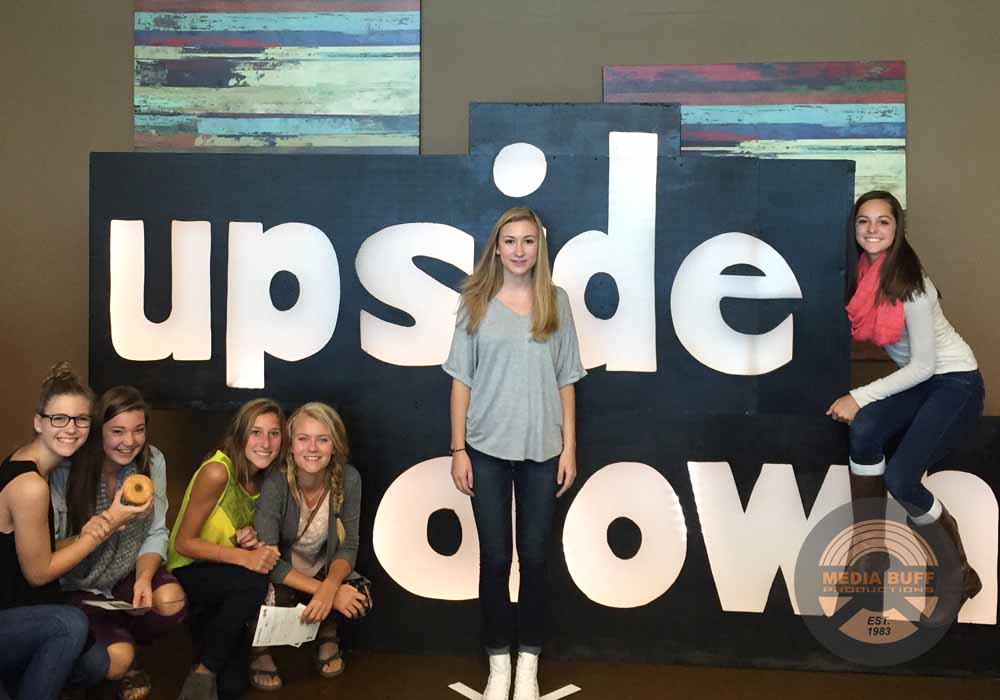
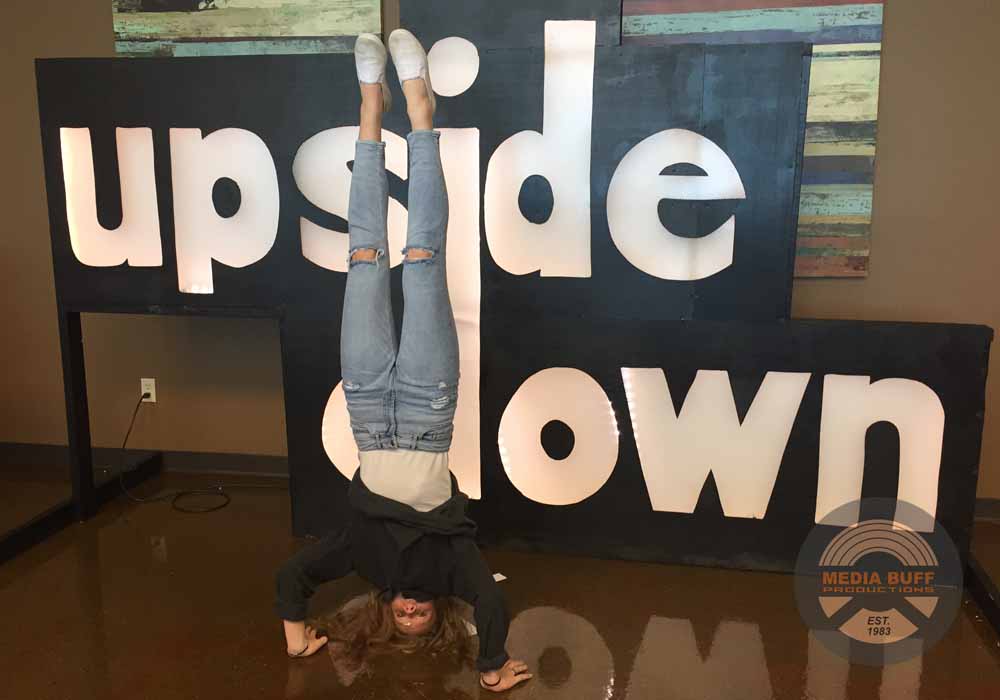
Students in front of the sign.
With this sign, we wanted the students to have something that they could share on social media and something that would emphasize this series and what it meant. The city we live in, Indianapolis, has this sign project with the word 'Indy'. People can insert themselves into the word 'Indy' by standing in place of the 'I' in 'Indy'. We thought this would be a cool idea, becoming part of the Upside Down process by inserting themselves into the sign. We accomplished this by having them stand on an X in front of the sign, helping create the letter 'I' and 'D' of the sign.
In the end, the sign turned out great and helped reinforce the messages. I'm grateful to be able to use my skills on projects like this and look forward to seeing what other unique projects will come along next!
Check out photos and the complete message series below:
-The Media Buff